Filenaming Conventions
Filenames follow this template:
[call number (four digits)]-[image number].jpeg
- For call numbers eliminate the dash and change the letter to lowercase: B-170 becomes b0170; A-2454 becomes a2454 The resulting number must always be 4 digits, add zeros if necessary: B-17 becomes b0017
- For call numbers beginning with number signs (hash marks) replace the symbol with the letter "n": #2480 becomes n2480
- For call numbers of confederate music prefix with "conf": Conf #224 becomes conf0224
The image number represents the number of the image only and is not related to the page numbers of the music.
Create a folder and name it the same as the call number. Save the individual image files in this folder. The structure should be:
    [Working folder]
         \
         b0170
            \
             b0170-1.jpeg
             b0170-2.jpeg
             b0170-3.jpeg
             b0170-4.jpeg
             etc...
             b0170-10.jpeg
             b0170-11.jpeg
The image number should simply increase to two digits after 9 (01, 02, etc. is not necessary). This will cause 10 to appear after to 1 in the directory, but this is will be accounted for later.
Multiple pieces, parts, etc.
2 or more copies of the same title: Check the pieces carefully to determine the differences.
- If the two pieces are identical, scan the best copy.
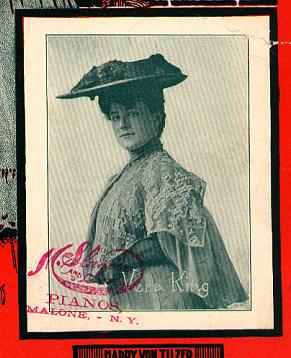
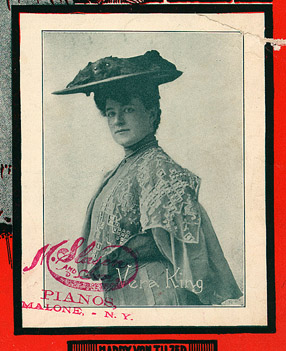
- If only the title pages are different, save one as image 1 and the other as image 2.
- When ads or other interior pages are different, intersperse the different pages but scan the best copy of the music itself if it is identical. For example:
b0001-1.jpeg Title page 1
b0001-2.jpeg Title page 2
b0001-3.jpeg Interior ads 1
b0001-4.jpeg Interior ads 2
b0001-5.jpeg Music (best copy) ...
b0001-8.jpeg Back interior ads 1
b0001-9.jpeg Back interior ads 2
b0001-10.jpeg Back cover 1
b0001-11.jpeg Back cover 2
- Sometimes copies of the same piece or the same song will have different folders and call numbers. If this is the case, scan each one as a separate piece.
Multiple parts: If there are multiple parts within the music, i.e. a piano part, horn part, vocal, guitar arrangement, etc., scan each part in sequence.
Scanning with the Umax Scanner
Prepare Scanner (Beginning of Shift)
- Check for dust or brittle paper flakes - clean using compressed dusting gas
- Check for smudges or fingerprints - clean by spraying glass cleaner onto cleaning pad and wiping glass. Be sure not to spray cleaner directly onto the glass, and don't use anything other than a soft cleaning pad to clean the glass.
- Open Photoshop and the MagicScan helper application (File/Import/UMAX MagicScan) and verify that the scanner settings in the Scanner Control are correct:
Flatbed (Reflective)
RGB Colors
150 dpi
Size: 100%
No Filter
[descreen] *
Magic Match: off
Color: auto
* Descreening:
For halftone images set to "Art Print 175lpi"
For line images set to "No Descreen"
DO NOT change any other software settings.
Let someone know if anything doesn't seem right after scanning your first image so we can make sure the software settings are correct. Be aware of color inconsistencies - the imageís color should closely match the original.
Scanning
- Determine if the page is a halftone image which will need descreening.
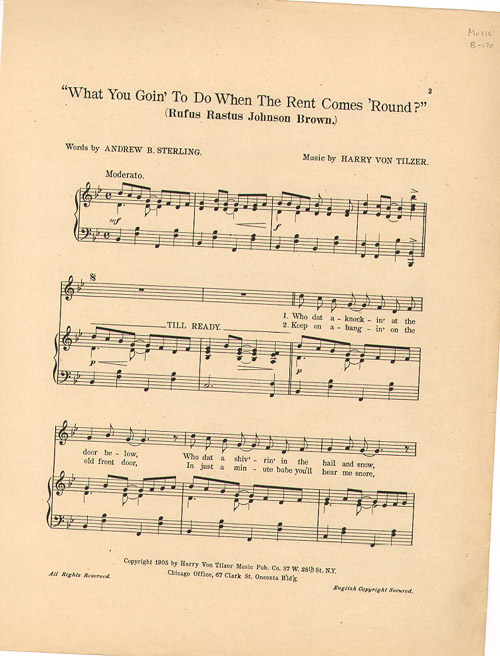
- Generally the illustrated title page and back page will need to be descreened, while the remaining pages of music will not need descreening. Watch for halftone ads and images inside, though!
- Handle the music carefully and keep in mind the principles of preservation. Place original on the scanner glass face down in the upper left corner with the head of the page to the left. For multi-page pieces of music which are attached, interior pages will need to be placed with the head of the page facing right and the attached page(s) supported as they drape over the front of the scanner. Place the white backing over the original being careful not to move it. The backing will need to be weighted down with softbound books or tabloid-size magazines since the scanner cover does not flatten the paper to the glass by itself.
- If a piece is sewn or glued at the left margin so that it cannot be opened without folding the paper, bring it to Stephen or Lynnís attention so that we can perform conservation work before it is scanned.
- Open the MagicScan helper application in Photoshop under File/Import/UMAX MagicScan. Check and maintain the settings in the Scanner Control window as listed above.
- Preview the illustrated title page only and select area around the image (within the dotted-edge box), allowing white space which will be cropped later. This white space affects the color of the scanned image so be sure to leave some around the page in the preview. Check for skew in the preview and correct if necessary. For subsequent scans of the same piece of music, increase the selected area slightly and scan without previewing.
- If lettering or an illustration appears in the center margin of the page, include it with the first of its neighboring pages scanned.
- Scan each page as an individual image.
Editing and Saving
- Enlarge the image to 100% and compare the image to the original. Look carefully for moiré patterns and rescan if necessary. If the colors are too dark, dissimilar or badly distorted bring it to our attention.
- Some pieces feature a cover page which is horizontal. Scan these vertically, but rotate the images into the correct orientation using Image/Rotate Canvas.
- Select an area to be cropped using the square selection tool. Crop using Image/Crop. Crop as close to the edge of the paper as possible.
|

